The Media Library
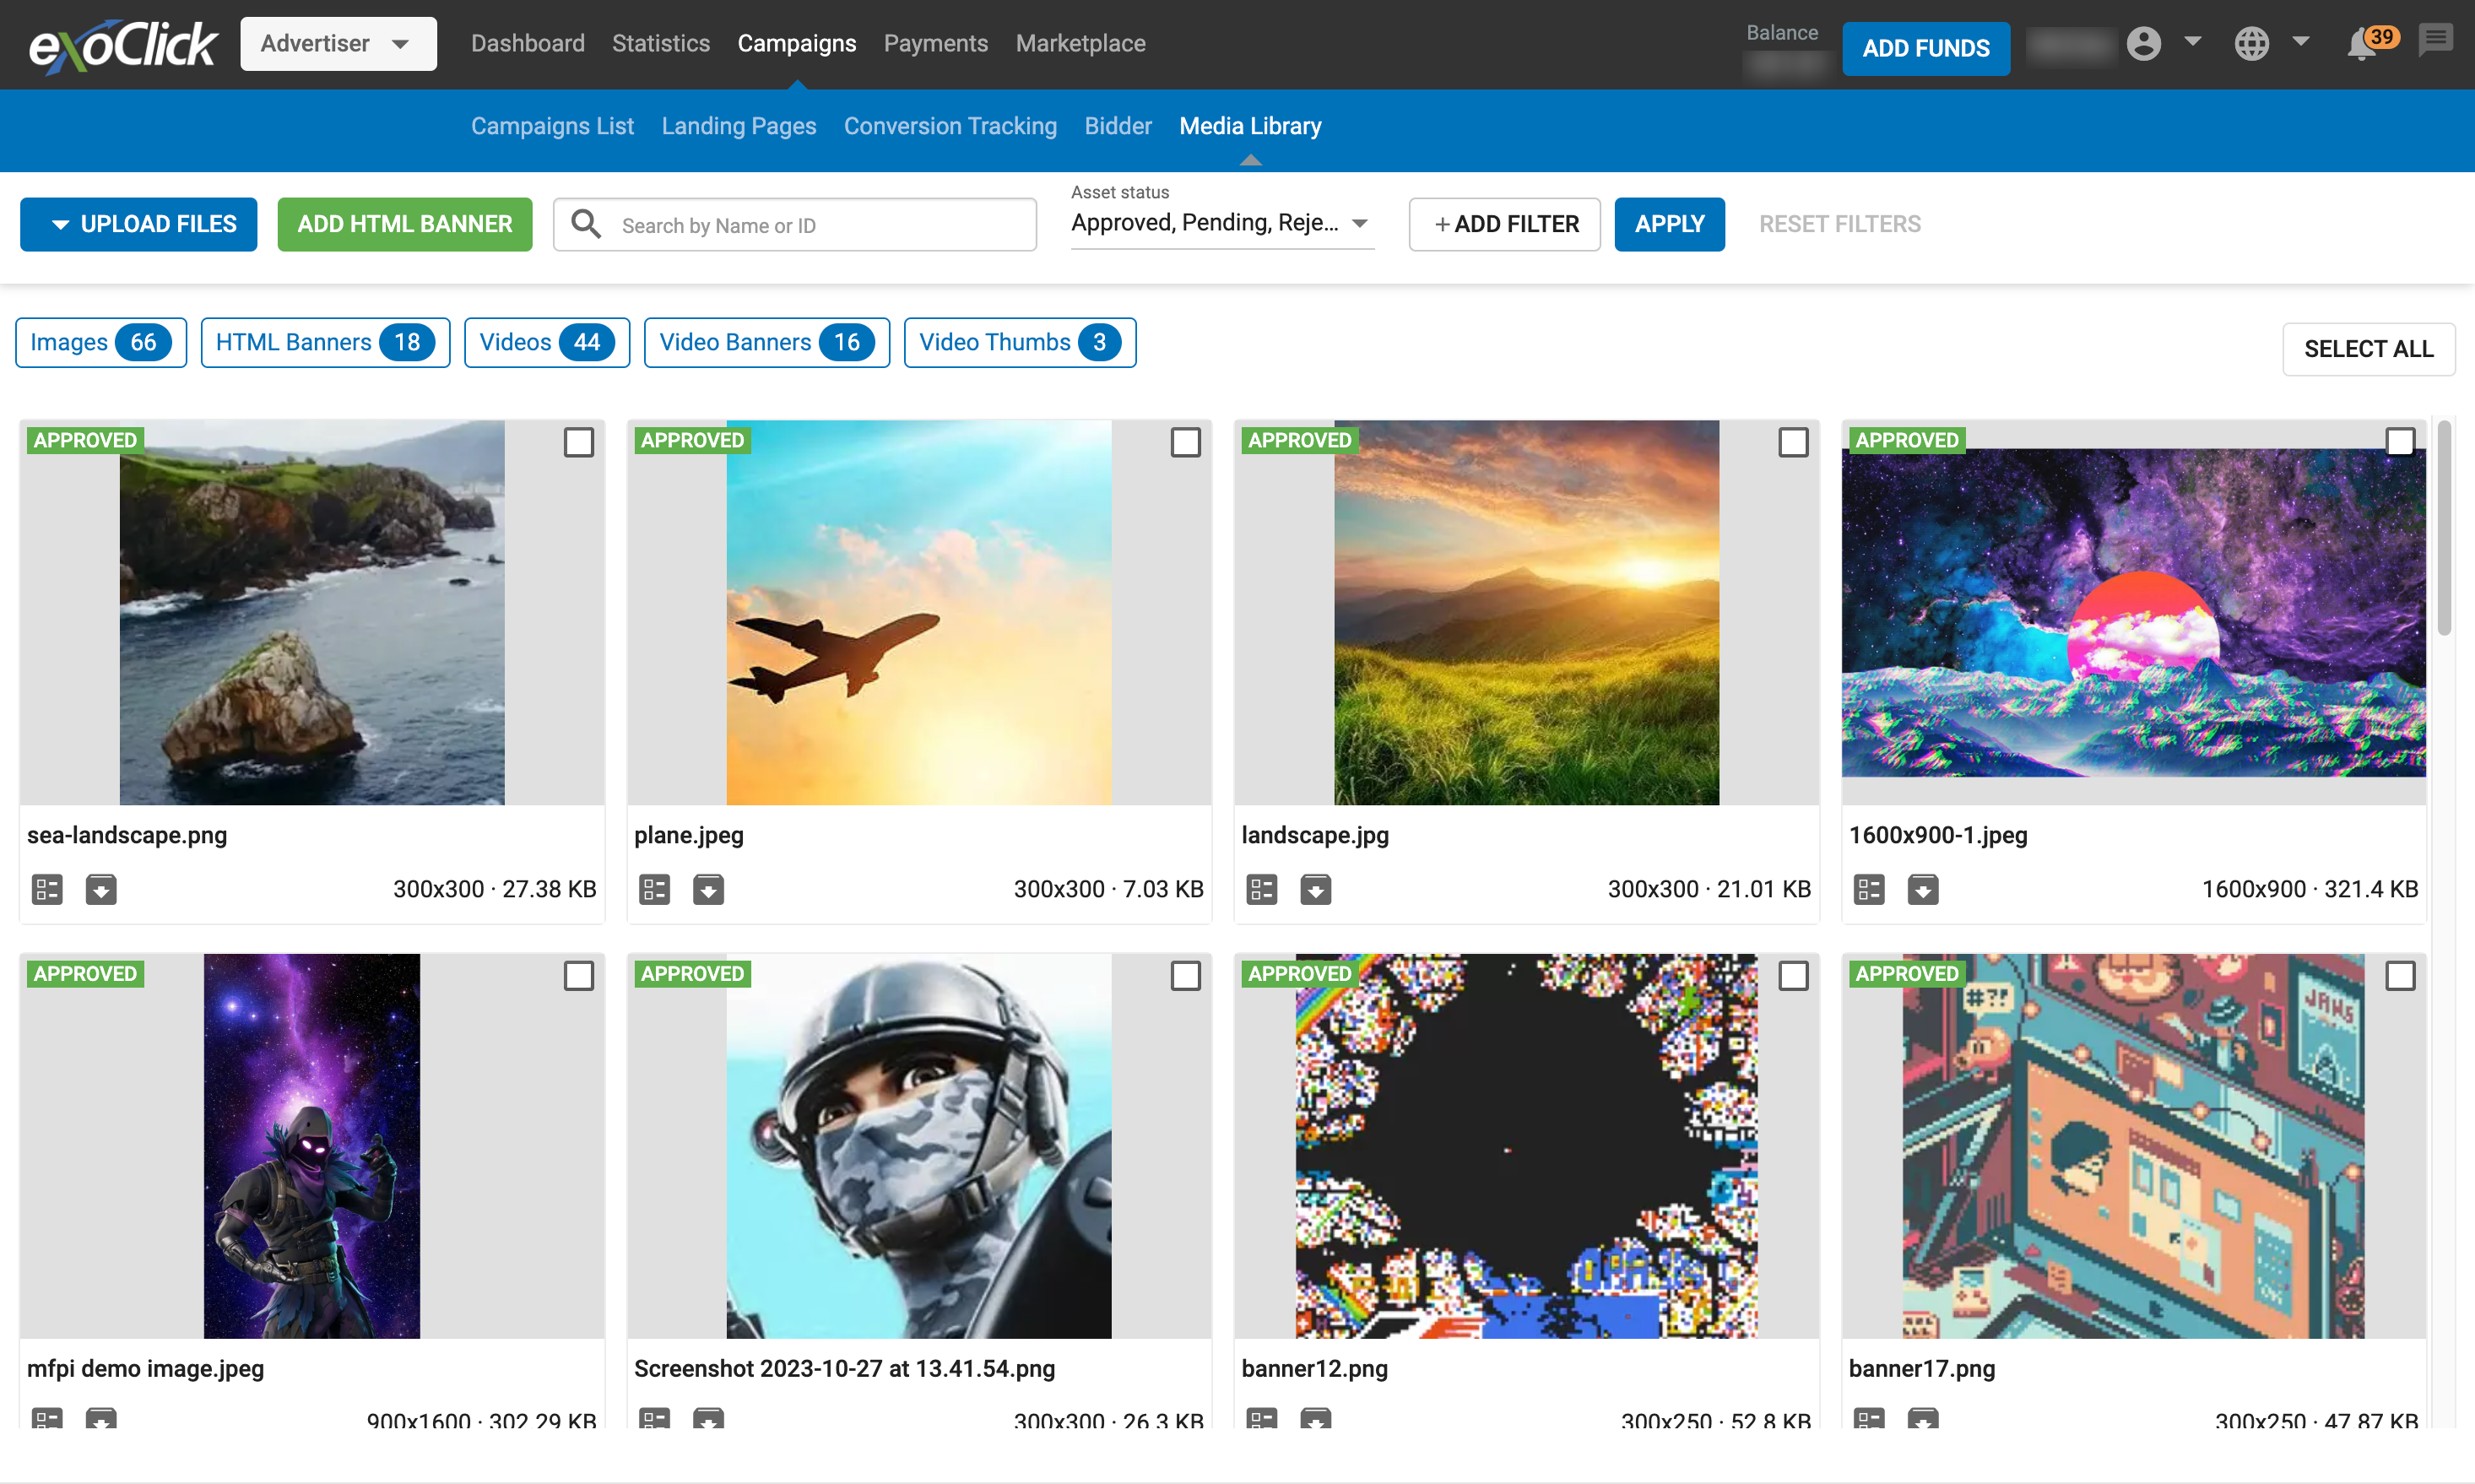
The Media Library is where you manage and upload the creative assets like pictures and videos that you use in your campaigns.
Uploading assets
You can upload files to your Media Library by clicking on Upload Files, selecting the type of file you want to upload, and then uploading the file you require.
Size limits
Creative assets (images and videos) are subject to size limits to ensure that sites run at optimal performance and achieve high ranking in search engines.
| Asset | Size Limit |
|---|---|
| Images under 1,000,000 pixels (Banner, Native, Push Notification) | 150 KB |
| Images over 1,000,000 pixels (Fullpage Interstitials) | 300 KB |
| Video Thumbs (Native Ads) | 1500 KB |
| Video Banners | 1536 KB |
| Video campaigns (In-Stream, Slider and Outstream) | 51200 KB |
Optimization of uploads
When your creatives are uploaded to our system, we optimize them for best performance by converting PNG files to JPEG and using MP4s to replace animated GIFs for some ad zones. The optimization works as follows:
- PNG files are converted to JPEG. Previously uploaded PNG files are converted to JPEG also.
- MP4 versions of animated GIFs are created and used for ad zones that allow it. The following ad zones will give preference to the MP4:
- Banner
- Mobile Banner
- Sticky Banner
- Instant Messages
Notes:
- Both PNGs and GIFs will only be converted if the optimization will result in a smaller filesize.
- Banners containing GIFs converted to MP4 will still function as normal banners, not video banners.
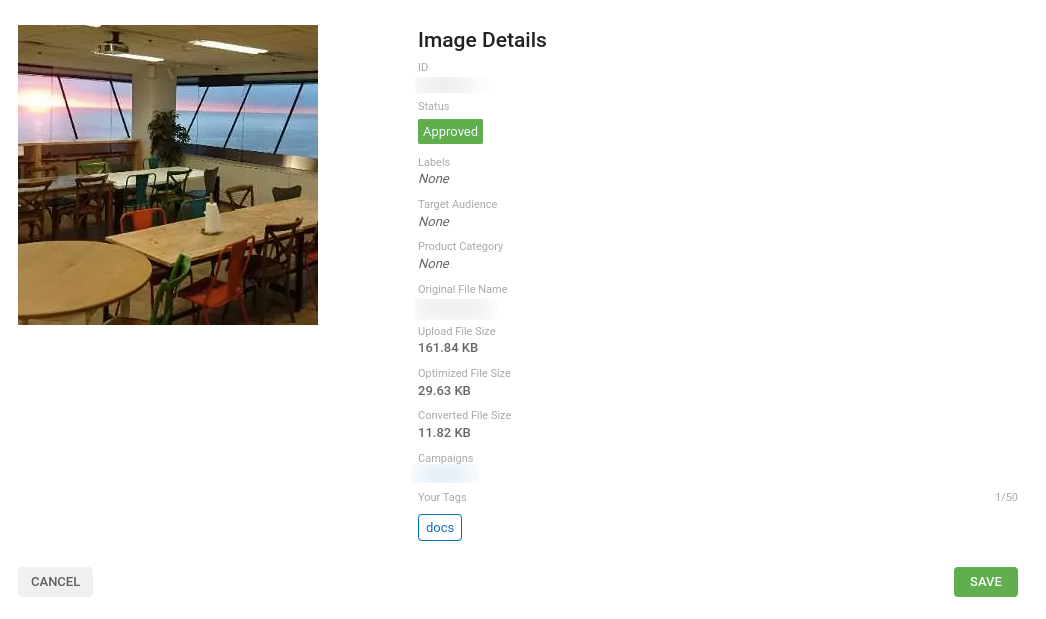
Viewing image details
For each thumbnail image, click the View Details icon to see the details of the asset. You will see the Image Details screen:
- ID: The ID number of the asset.
- Status: The status of the asset (Approved, Pending, Rejected).
- Labels: Any labels associated with the asset, e.g: "Banners - Animated Images".
- Target Audience: The target audience label for the asset.
- Product Category: Which of the categories that asset belongs to.
- Original File Name: The filename that the asset was uploaded with.
- Original File Size: The size of the asset when it was uploaded.
- Compressed GIF Size: The size of the asset once it has been compressed.
- Optimized File Size: If the file was optimized as well as compressed, it may have a different size to the compressed file.
- Campaigns: The campaign(s) that this asset is used in. Clicking on the links for each campaign will take you to the Campaign List screen for that campaign.
- Your Tags: Here you can add any tags to identify the asset in searches. When you have added the tags that you need, click Save.
Finding Assets in the Media Library Screen
You can filter the assets that show in this screen using the drop-down menus at the top of the screen:
- Asset Status: You can use these drop-downs to filter the assets by whether they have been Approved, Rejected, or are Pending Approval.
- With/Without: You can choose to show assets with or without certain features. Simply tick the features that you want to include in the With drop-down, and tick the features to exclude in the Without drop-down.
- Search Tags: Here you can search for assets using any tags that you have added in the Details screen of any asset.
- Search for original files names: In the Select Ad Assets screen, assets are identified by IDs, but you can search for the file name that the file was originally uploaded with. Simply type all or part of the filename into the field.
- Show Archived: When assets have been archived, you can choose whether to show them in this screen or not.
- Banner ID: You can search by Banner ID in this screen as well.