How to Use ExoClick's Ad Zone Codes in WordPress
Integrating ExoClick's Ad Zone codes into WordPress is simple and can be done in multiple ways.
This guide will walk you through four different methods to add ExoClick ad zones to your WordPress site.
1. Add a Custom HTML Block in WordPress
Go to the WordPress Editor
- Open the post or page where you want to place the ad
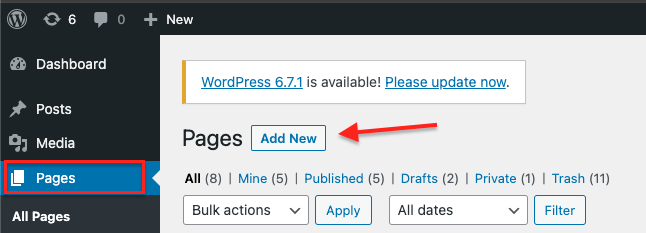
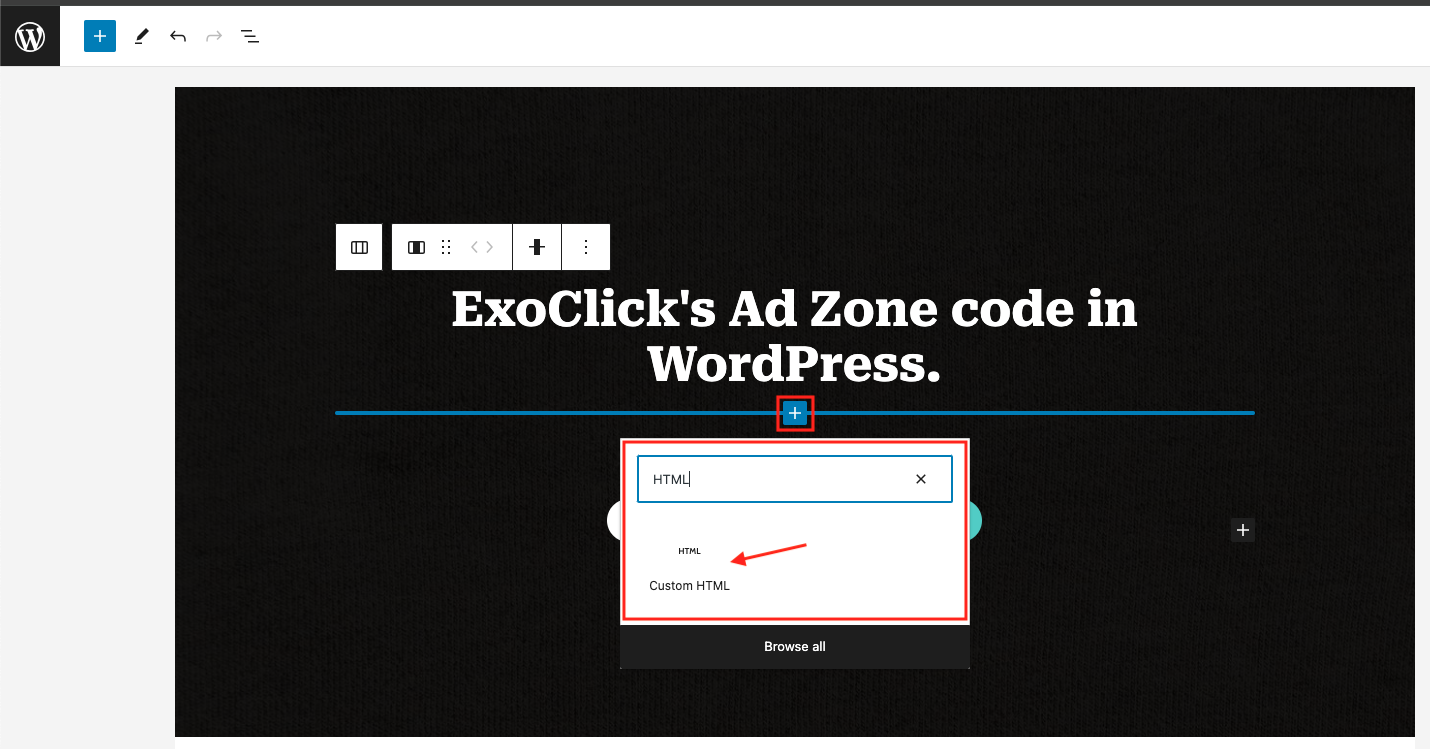
Add a Custom HTML block
- Click the “+” (Add Block) button
- Search for “Custom HTML” and select it
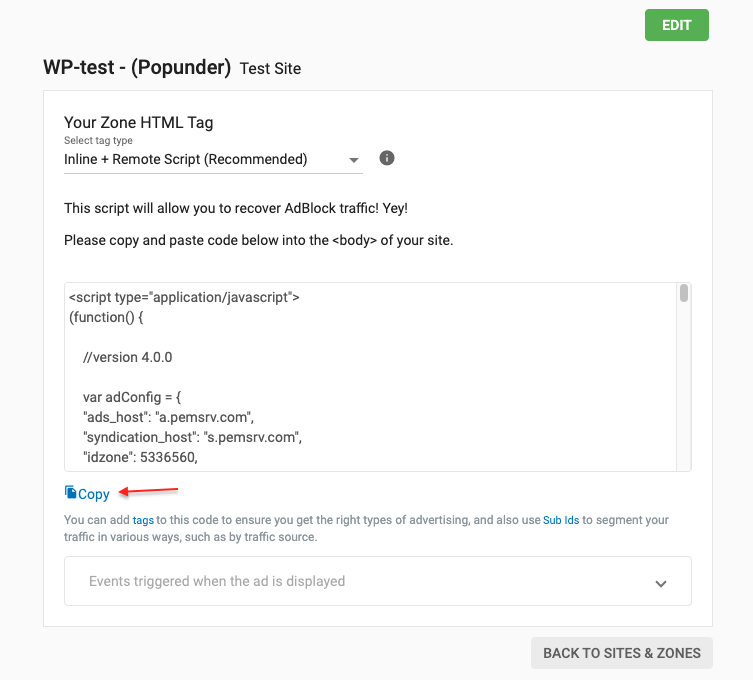
Get your created Ad Zone Code
- Copy the ExoClick Ad Zone code
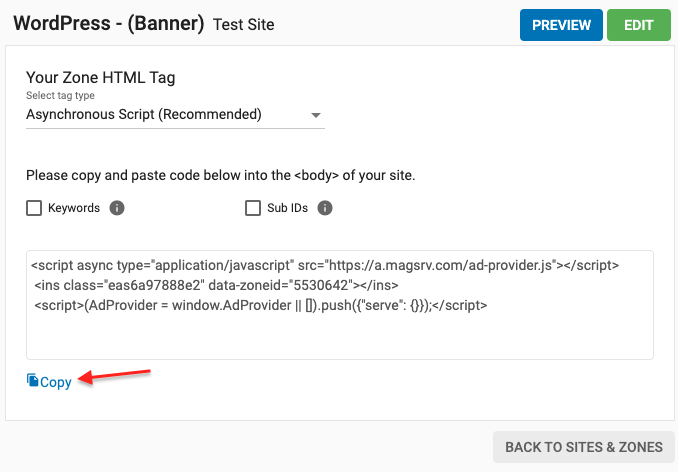
Add the ad code (banner, native, etc - excluding popunders)
- Paste it inside the Custom HTML block
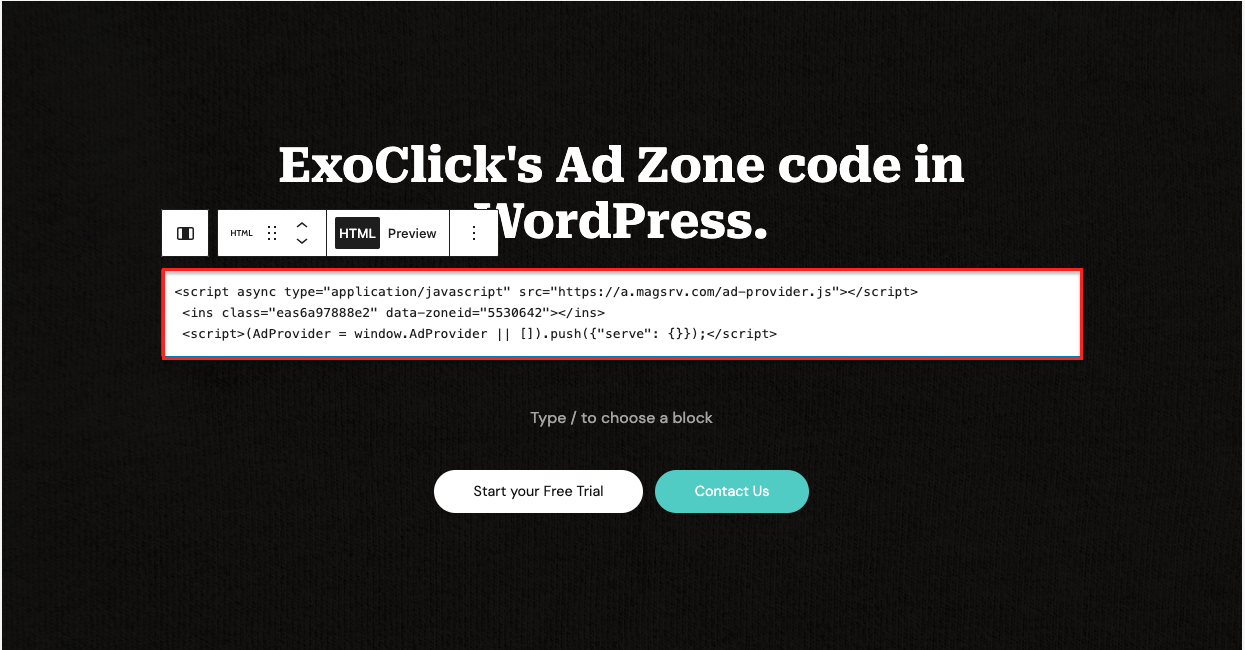
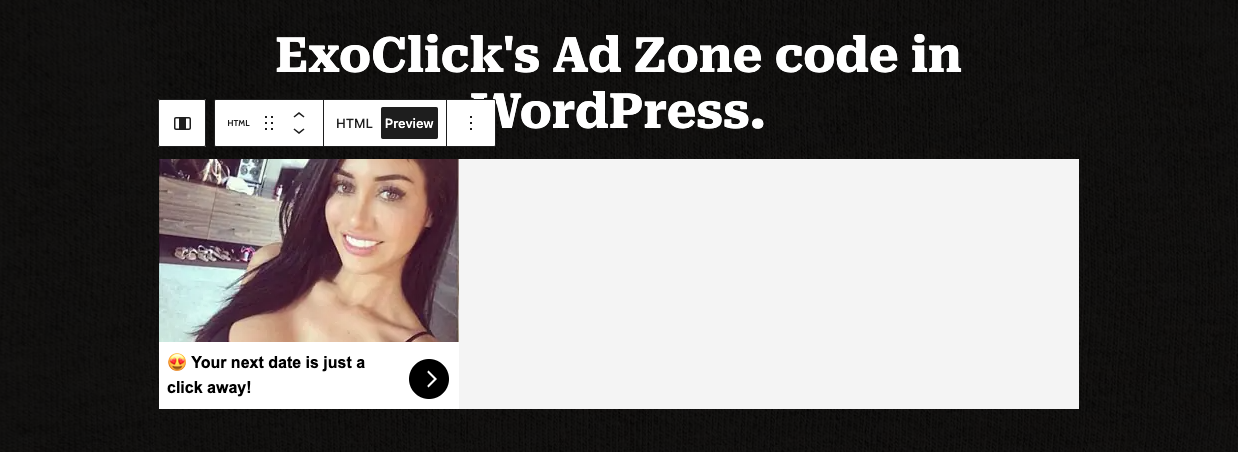
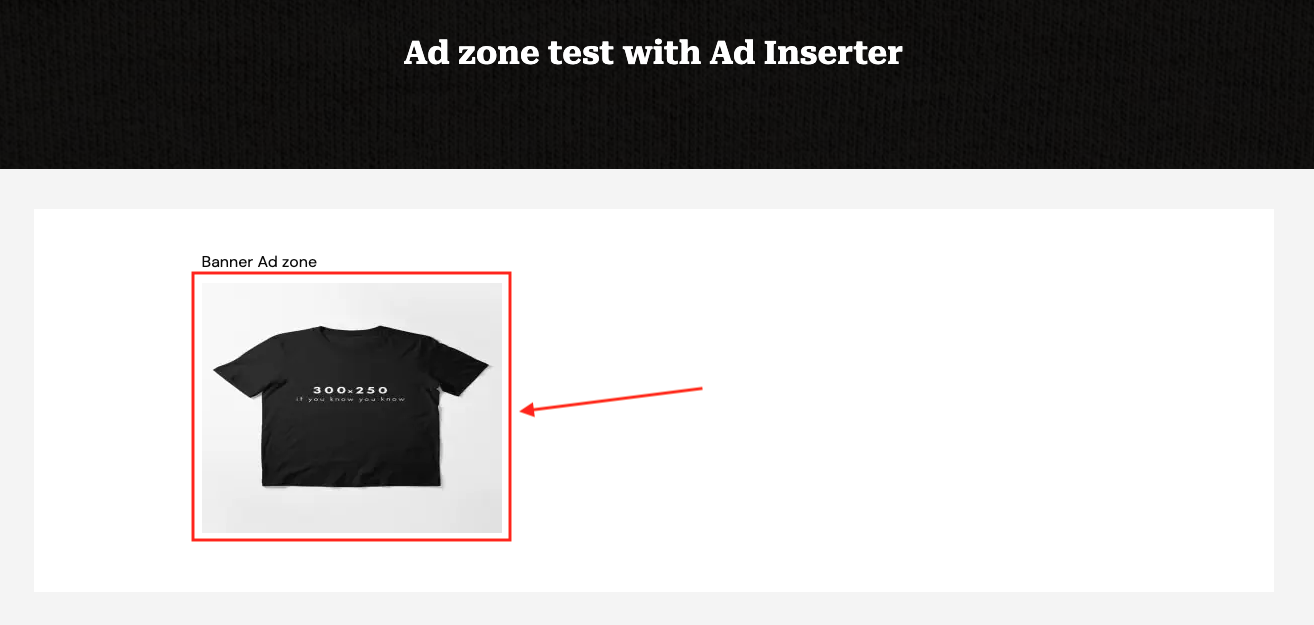
You can now test the ad by previewing it
- Click Preview to check if the ad appears correctly
- If everything looks good, click Publish/Update to save changes
2. Using Ad Inserter Plugin
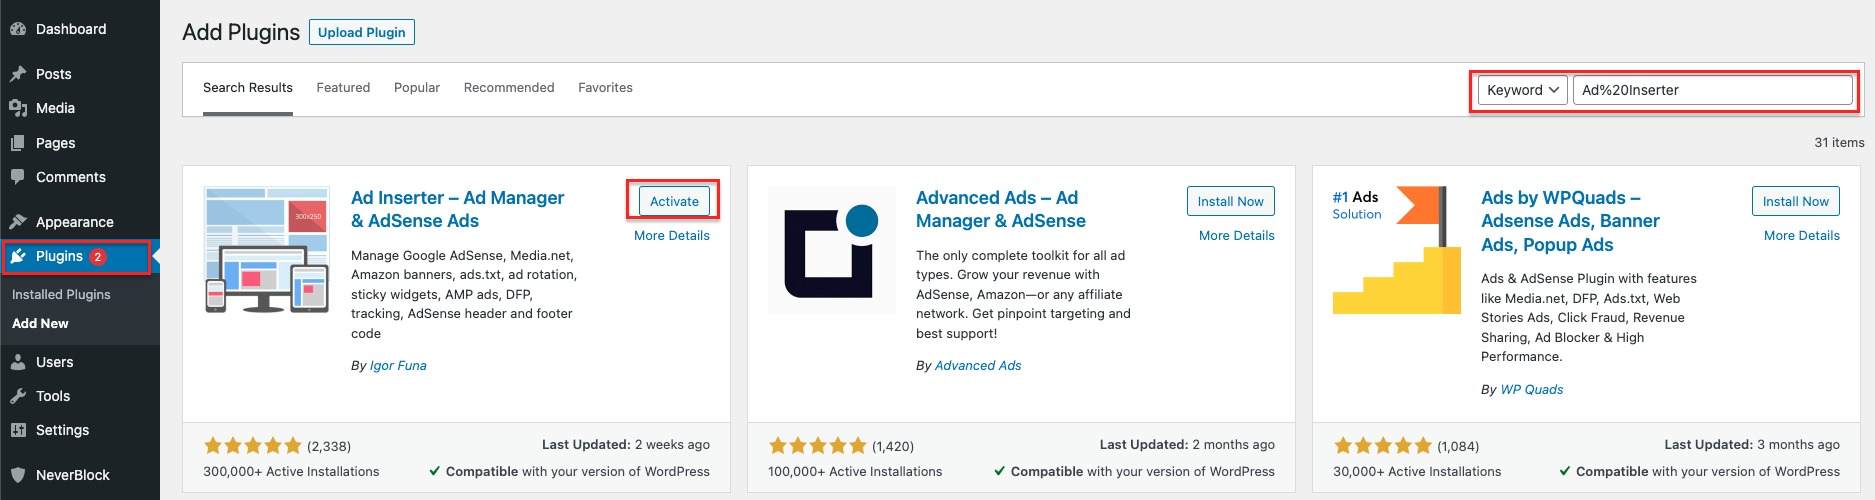
Install Ad Inserter Plugin
- Go to WordPress Dashboard > Plugins > Add New
- Search for "Ad Inserter" plugin, install, and activate it
Get your created Ad Zone Code
- Copy the ExoClick Ad Zone code
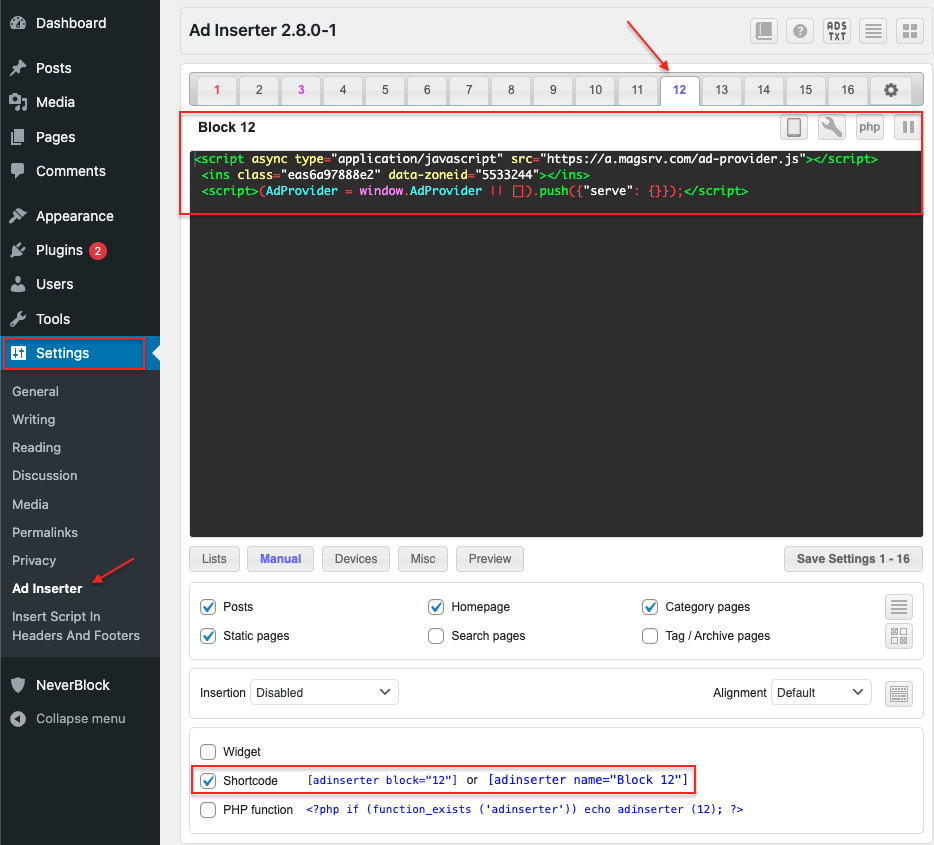
Configure Ad Inserter
- Go to WordPress Dashboard > Settings > Ad Inserter
- Paste the copied ad code in the appropriate code block
- Save settings
Insert Ads into Posts or Pages
- Edit a post or page where you want to display the ad
- Use the Ad Inserter shortcode [adinserter blockID] in the editor
- Replace blockID with the block number configured in Ad Inserter
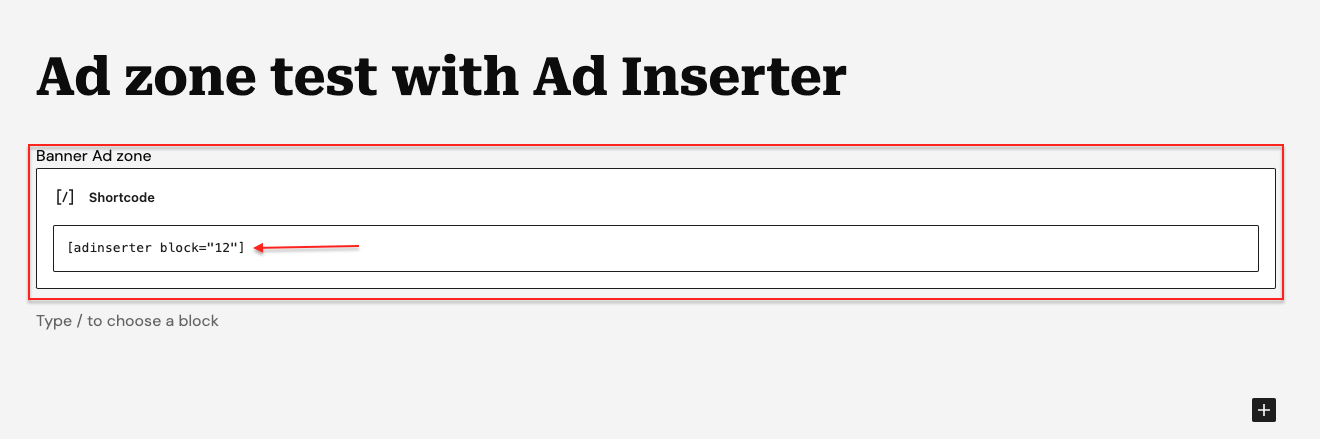
If everything was set up correctly, you should now see your ad zone
3. Adding a Popunder Code via Theme File Editor
- Go to WordPress Dashboard > Appearance > Theme File Editor
- Locate the footer.php in theme files
- Copy your Popunder Ad Zone code
- Paste a Popunder Ad Zone Code inside the footer.php file
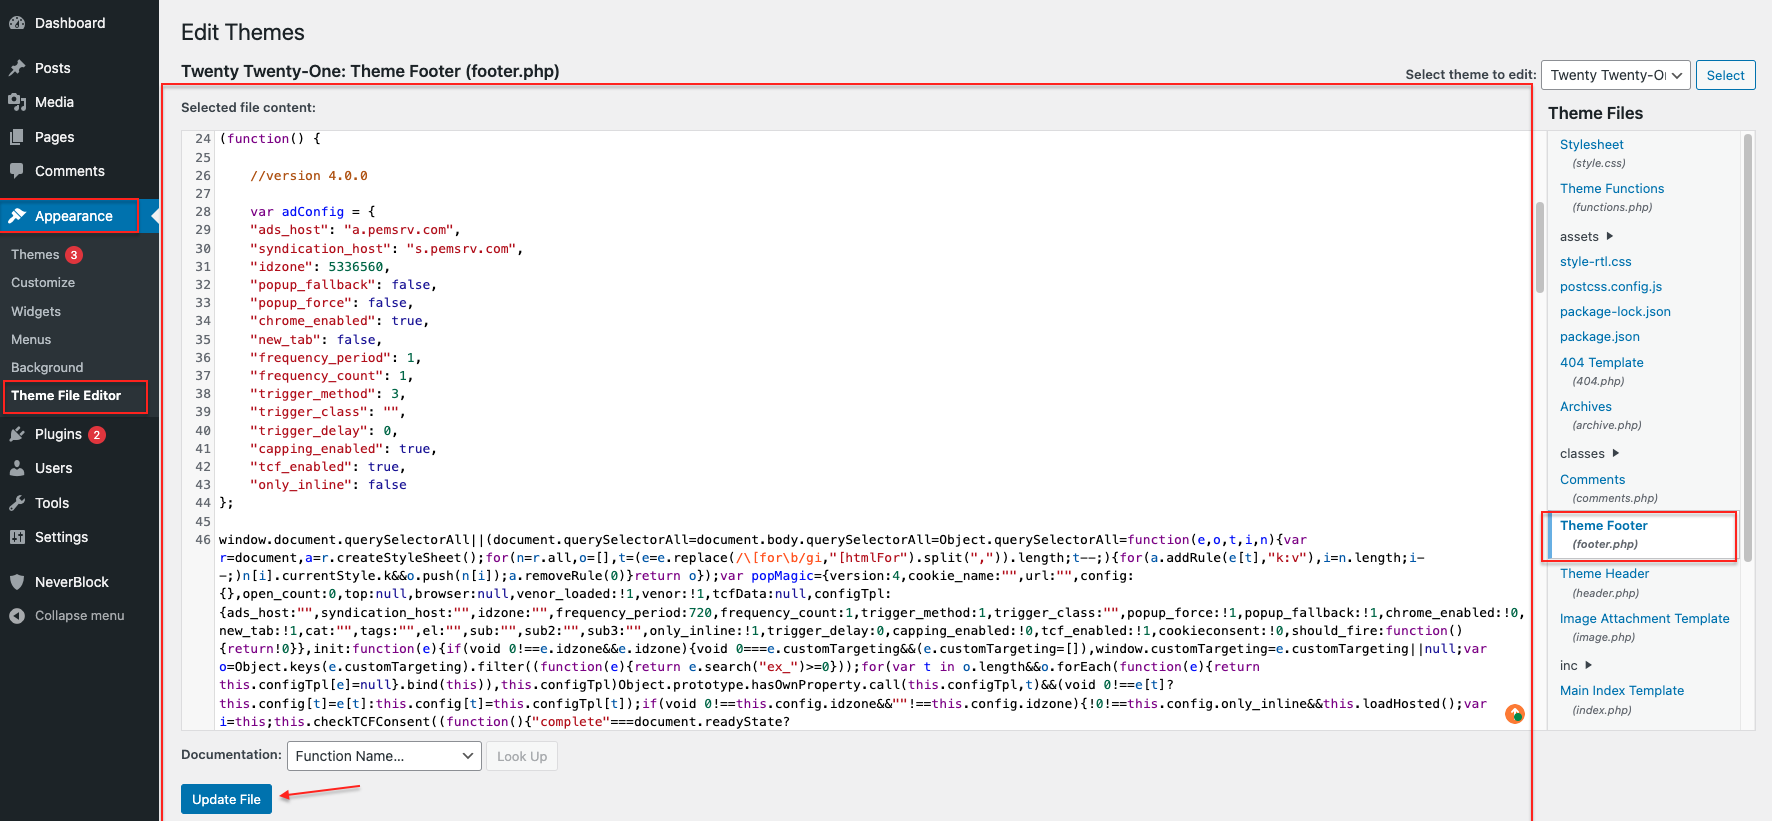
Note: You can also use Method 4 to add your Popunder script to the footer.
4. Using Insert Script In Headers And Footers
Access the Settings Panel
- Go to WordPress Dashboard > Settings > Insert Script In Headers And Footers
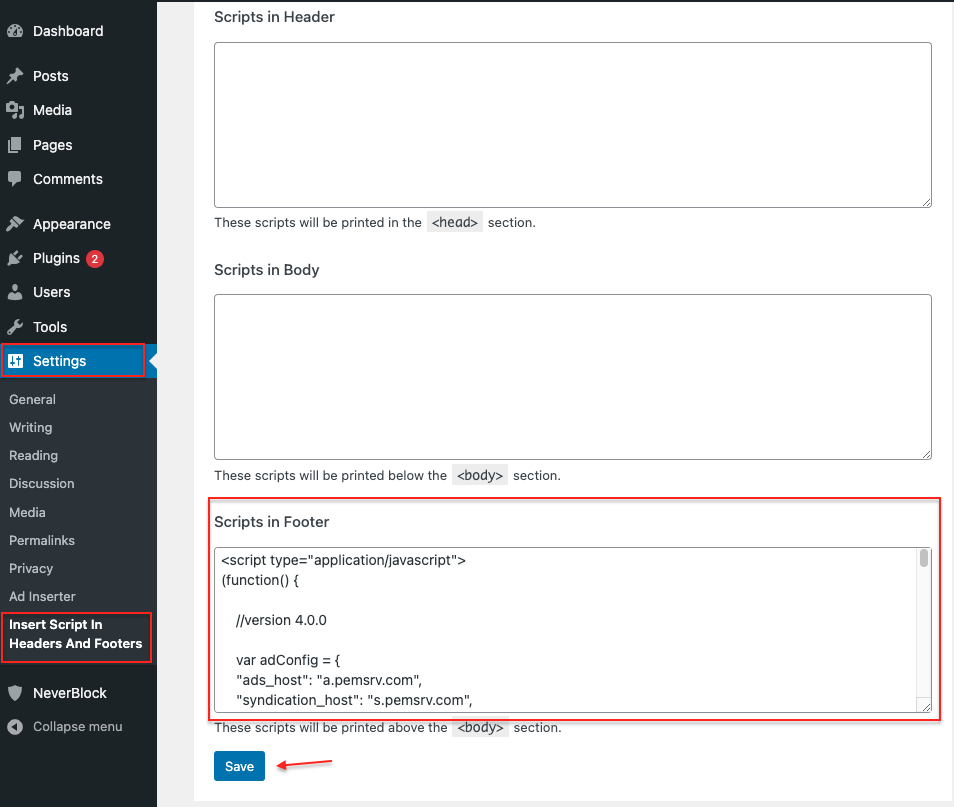
Note: In this example, we used the Popunder Ad Zone script