Adding ExoClick Ad Zones to Apps
Supported Ad Formats for Mobile Apps
You can use the following formats:
- VAST
- Banner
- Sticky Banner
- Video Slider
- Multi-Format
- Instant Message
- In-Video Banner
- In-Page Push Notifications
To add ExoClick ad zones to your app, you'll use the react-native-webview library to display the ad's HTML code.
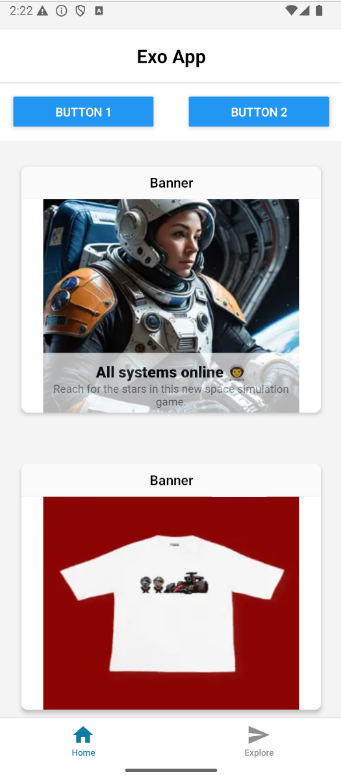
Example: Banner
Step 1. Install and Import react-native-webview
Run the following command:
npm install react-native-webview
Then, import the WebView component into your React Native file:
import { WebView } from 'react-native-webview';
Step 2. Ad Code
Create a JavaScript string that contains the full HTML code for your ad zone:
const bannerAdHTML = `
   <!DOCTYPE html>
   <html>
     <head>
       <meta name="viewport" content="width=device-width, initial-scale=1.0">
     </head>
     <body style="margin:0; padding:0; text-align:center;">
       <script async type="application/javascript" src="https://a.magsrv.com/ad-provider.js"></script>
       <ins class="eas6a97888e2" data-zoneid="YOUR_ZONE_ID"></ins>
       <script>(AdProvider = window.AdProvider || []).push({"serve": {}});</script>
     </body>
   </html>
 `;
Remember to replace YOUR_ZONE_ID with the actual ID
Step 3. WebView
Import the WebView component into your React Native file
import { View } from 'react-native';
Next, place a WebView component in your app's JSX layout. Pass the HTML string to the source prop:
<WebView
  originWhitelist={['*']}
  source={{ html: bannerAdHTML }}
  javaScriptEnabled={true}
  domStorageEnabled={true}
  style={{ height: 250 }}
/>
With that, you should be able to display advertisements within your mobile app.
Example: VAST
The video player and the VAST tag will be loaded within a single HTML string. This example uses Fluid Player as the video player to serve ads.
We use the same setup process as demonstrated for the banner ad example.
const fluidPlayerHTML = `
 <!DOCTYPE html>
 <html>
   <head>
     <meta name="viewport" content="width=device-width, initial-scale=1.0">
   </head>
   <body>
     <video id='my-video' controls>
       <source src='https://path-to-your-video.mp4' type='video/mp4' />
     </video>
     <script src="https://cdn.fluidplayer.com/v3/current/fluidplayer.min.js"></script>
     <script>
       fluidPlayer('my-video', {
         vastOptions: {
           adList: [{
             roll: "preRoll",
             vastTag: "https://s.magsrv.com/v1/vast.php?idzone=YOUR_ZONE_ID"
           }]
         }
       });
     </script>
   </body>
 </html>
`;
Remember to replace YOUR_ZONE_ID and https://path-to-your-video.mp4 with your own information.
Then load it with WebView:
<WebView
  originWhitelist={['*']}
  source={{ html: fluidPlayerHTML }}
  javaScriptEnabled={true}
  domStorageEnabled={true}
  style={{ height: 200 }}
/>
By following these steps, your app will now display video ads.
Native Android App Ad Zone
The full working example is available in this repository
You can review the code and see how the ad is rendered inside an Android app.
Where to find the implementation?
The main files responsible for serving the ad are:
- HTML ad container
android-native-ads/na_app/app/src/main/assets/exoclick_ads.htmlContains the ExoClick ad markup. - Android WebView logic
android-native-ads/na_app/app/src/main/java/com/exoclick/adtest/MainActivity.ktLoads the HTML file. Handles ad clicks by opening them in the device’s external browser.
Notes: This project is meant as a simple reference, not a full production solution. It shows the basic setup needed to display ExoClick ads inside an Android app.