Etapa 1 - Generalidades

Para empezar a comprar tráfico, debe crear una campaña. Para ello, desde la pantalla principal del Panel de Administración, haga clic en Campañas, luego en Lista de Campañas, y seleccione Nueva Campaña. El proceso de creación de una campaña consta de 5 pasos diferentes, que usted realizará de izquierda a derecha.
Nota: Cuando crees una campaña, asegúrate de que sigues nuestras directrices para anunciantes. Puedes obtener más información sobre cuánto puede tardar en aprobarse una campaña o por qué podría rechazarse una campaña en nuestra sección "Preguntas frecuentes de los anunciantes " de la barra lateral.
Añadir detalles generales
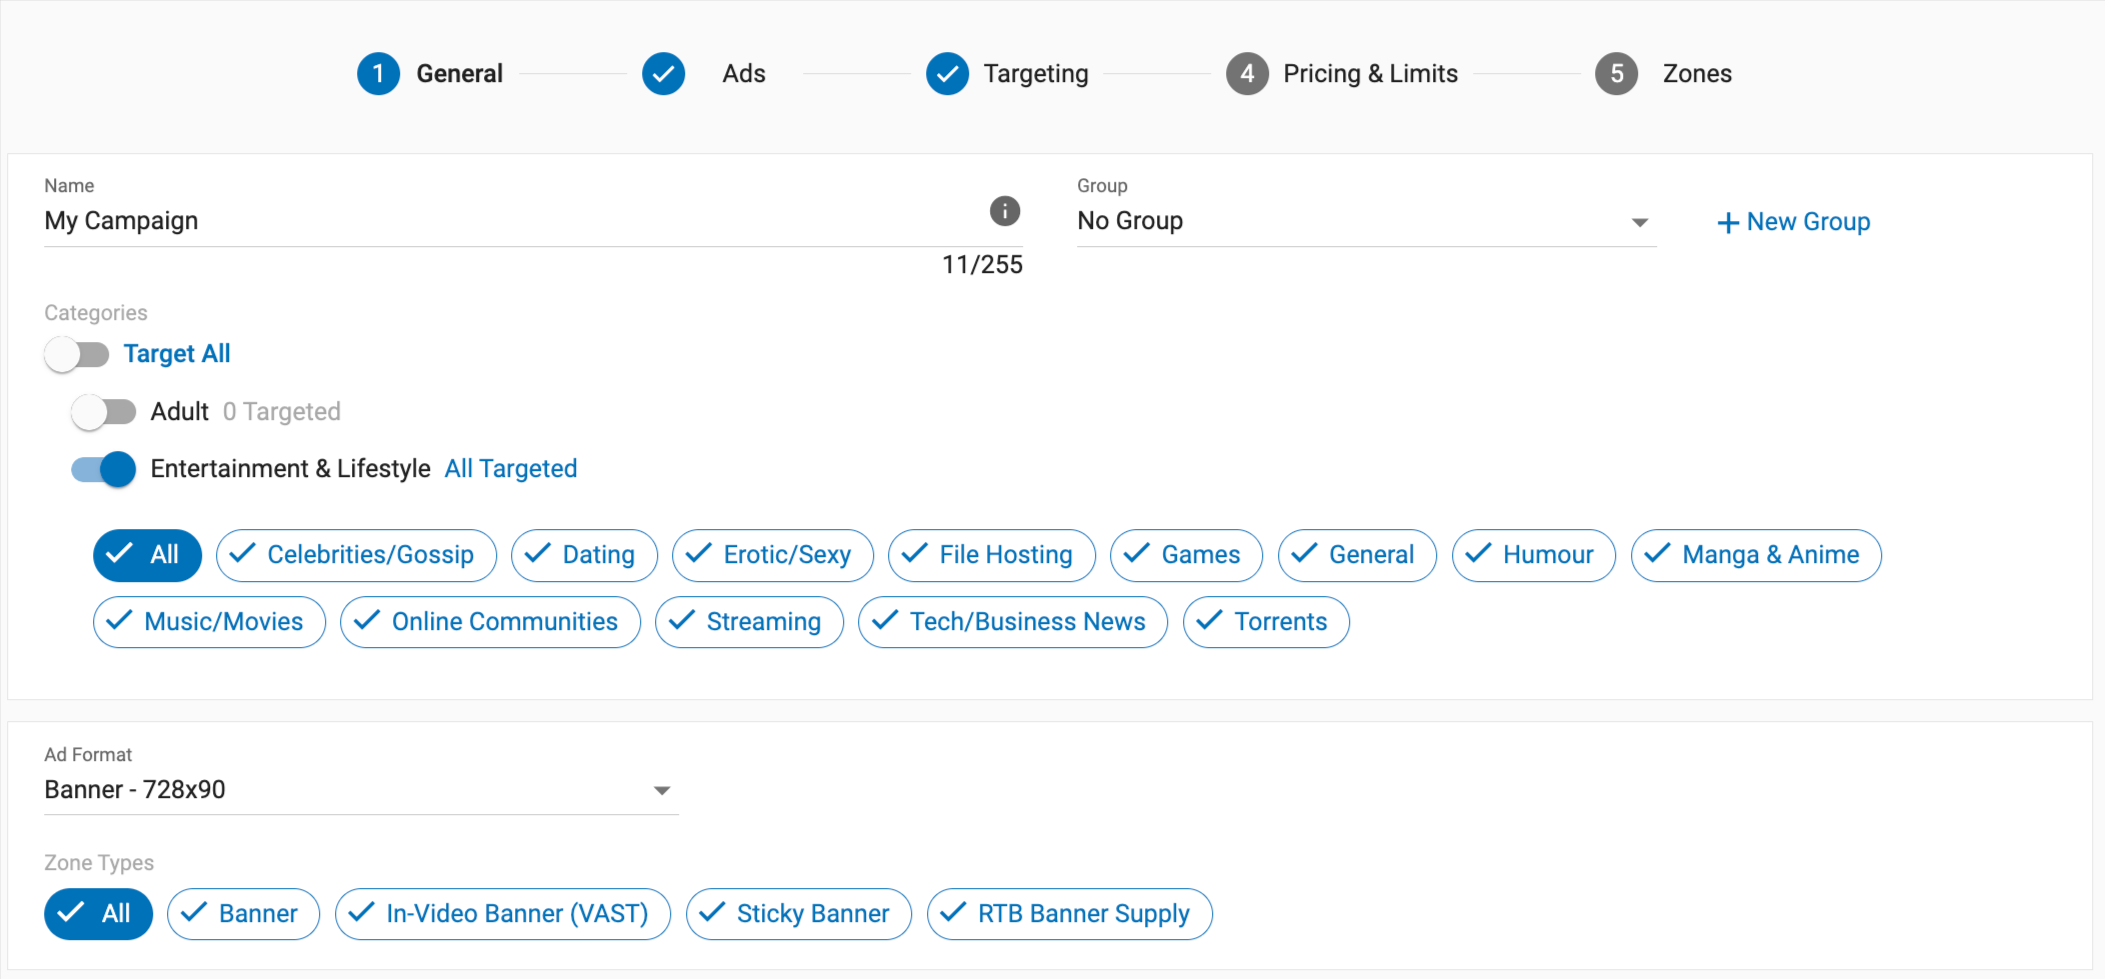
En primer lugar, añada la siguiente información a la pestaña Detalles generales:
- Nombre: Seleccione un nombre para la campaña que le permita identificarla fácilmente al consultar sus estadísticas.
- Grupo: Seleccione un grupo para esta campaña en el desplegable, o haga clic en +Nuevo grupo para crear uno nuevo.
- Categorías: Utilice los botones situados junto a cada categoría para elegir las que desea seleccionar. Si hay varias categorías de nivel superior, aparecerá un botón para seleccionar todas, que le permitirá seleccionar o anular rápidamente la selección de todas las categorías.
- Formato de anuncio: Elija el formato de anuncio que desee utilizar en el desplegable.
- Tipo de zona: Elija los tipos de zona a los que desea dirigirse. Por defecto se seleccionarán Todas. Para excluir tipos de zona específicos, haga clic en ellos. También puede encontrar más información sobre Tipos de zona en nuestra página formato de anuncio.

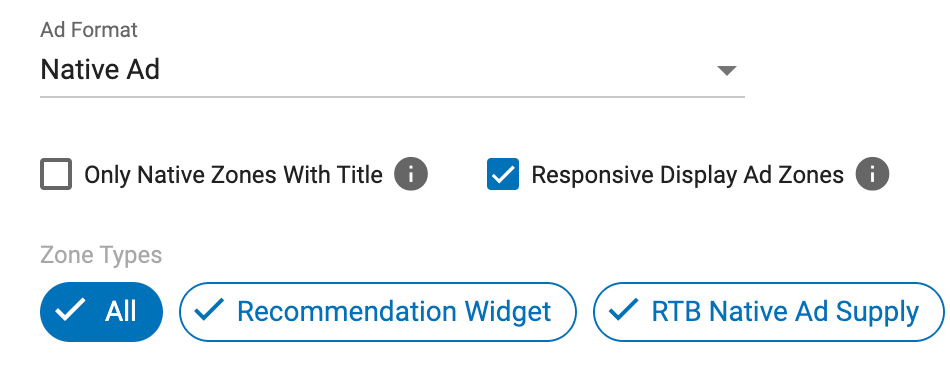
Nota: Si crea una campaña de anuncios nativos, verá dos casillas de verificación: Sólo zonas nativas con título y Zonas de anuncios de display responsivo.

Sólo zonas nativas con título
Esta casilla garantiza que el anuncio sólo se dirigirá a las zonas que permiten que el anuncio muestre un título. Marcar esta casilla también afectará a las zonas que se muestran en el Paso 5: Zonas.
Zonas publicitarias interactivas
Al marcar esta casilla, se ampliará el alcance de su campaña para incluir las zonas de banners habilitadas para los anuncios de visualización adaptable. Esencialmente, utilizando el contenido de su campaña nativa y luego sirviendo el anuncio para que se muestre responsivamente dentro de la zona de banner asignada. Por defecto, esta casilla está activada.