Ajouter des zones publicitaires ExoClick aux applications
Formats publicitaires pris en charge pour les applications mobiles
Vous pouvez utiliser les formats suivants :
- VAST
- Bannière
- Bannière adhésive
- Slider vidéo
- Multi-Format
- Message instantané
- Bannière vidéo
- Notifications push in page
Pour ajouter des zones publicitaires ExoClick à votre application, vous utiliserez la bibliothèque react-native-webview pour afficher le code HTML de la publicité.
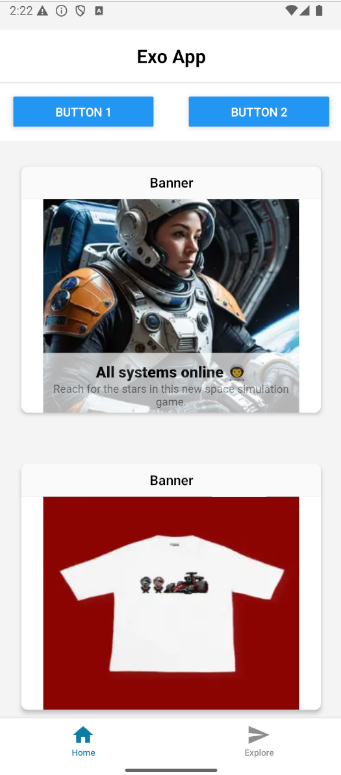
Exemple : Bannière
Étape 1. Installer et importer react-native-webview
Exécutez la commande suivante :
npm install react-native-webview
Ensuite, importez le composant WebView dans votre fichier React Native :
import { WebView } from 'react-native-webview';
Étape 2. Code publicitaire
Créez une chaîne JavaScript contenant le code HTML complet de votre zone publicitaire :
const bannerAdHTML = `
   <!DOCTYPE html>
   <html>
     <head>
       <meta name="viewport" content="width=device-width, initial-scale=1.0">
     </head>
     <body style="margin:0; padding:0; text-align:center;">
       <script async type="application/javascript" src="https://a.magsrv.com/ad-provider.js"></script>
       <ins class="eas6a97888e2" data-zoneid="YOUR_ZONE_ID"></ins>
       <script>(AdProvider = window.AdProvider || []).push({"serve": {}});</script>
     </body>
   </html>
 `;
N'oubliez pas de remplacer YOUR_ZONE_ID par l'ID réel
Étape 3. WebView
Importez le composant WebView dans votre fichier React Native
import { View } from 'react-native';
Ensuite, placez un composant WebView dans le layout JSX de votre application. Passez la chaîne HTML à la propriété source :
<WebView
  originWhitelist={['*']}
  source={{ html: bannerAdHTML }}
  javaScriptEnabled={true}
  domStorageEnabled={true}
  style={{ height: 250 }}
/>
Vous devriez ainsi être en mesure d'afficher des publicités dans votre application mobile.

Exemple : VAST
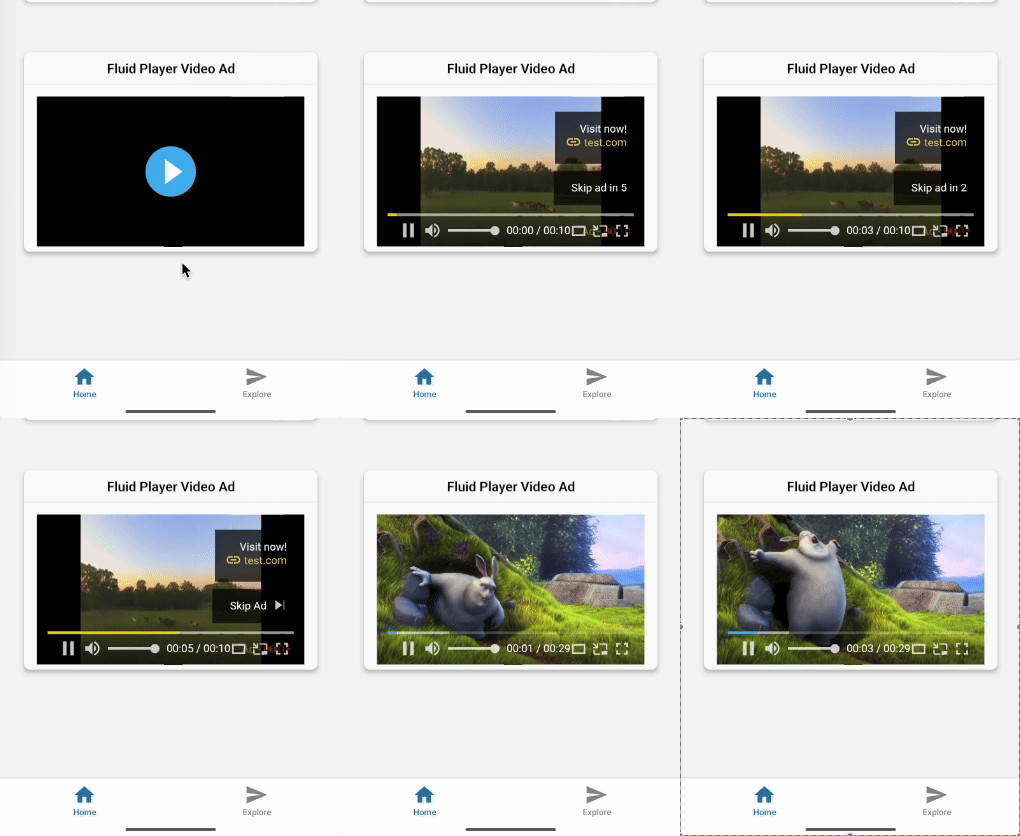
Le lecteur vidéo et la balise VAST seront chargés dans une seule chaîne HTML. Cet exemple utilise Fluid Player comme lecteur vidéo pour diffuser des annonces.
Nous utilisons le même processus de configuration que celui décrit dans l'exemple de la bannière publicitaire.
const fluidPlayerHTML = `
 <!DOCTYPE html>
 <html>
   <head>
     <meta name="viewport" content="width=device-width, initial-scale=1.0">
   </head>
   <body>
     <video id='my-video' controls>
       <source src='https://path-to-your-video.mp4' type='video/mp4' />
     </video>
     <script src="https://cdn.fluidplayer.com/v3/current/fluidplayer.min.js"></script>
     <script>
       fluidPlayer('my-video', {
         vastOptions: {
           adList: [{
             roll: "preRoll",
             vastTag: "https://s.magsrv.com/v1/vast.php?idzone=YOUR_ZONE_ID"
           }]
         }
       });
     </script>
   </body>
 </html>
`;
N'oubliez pas de remplacer YOUR_ZONE_ID et https://path-to-your-video.mp4 par vos propres informations.
Chargez-la ensuite avec WebView :
<WebView
  originWhitelist={['*']}
  source={{ html: fluidPlayerHTML }}
  javaScriptEnabled={true}
  domStorageEnabled={true}
  style={{ height: 200 }}
/>
En suivant ces étapes, votre application affichera désormais des publicités vidéo.

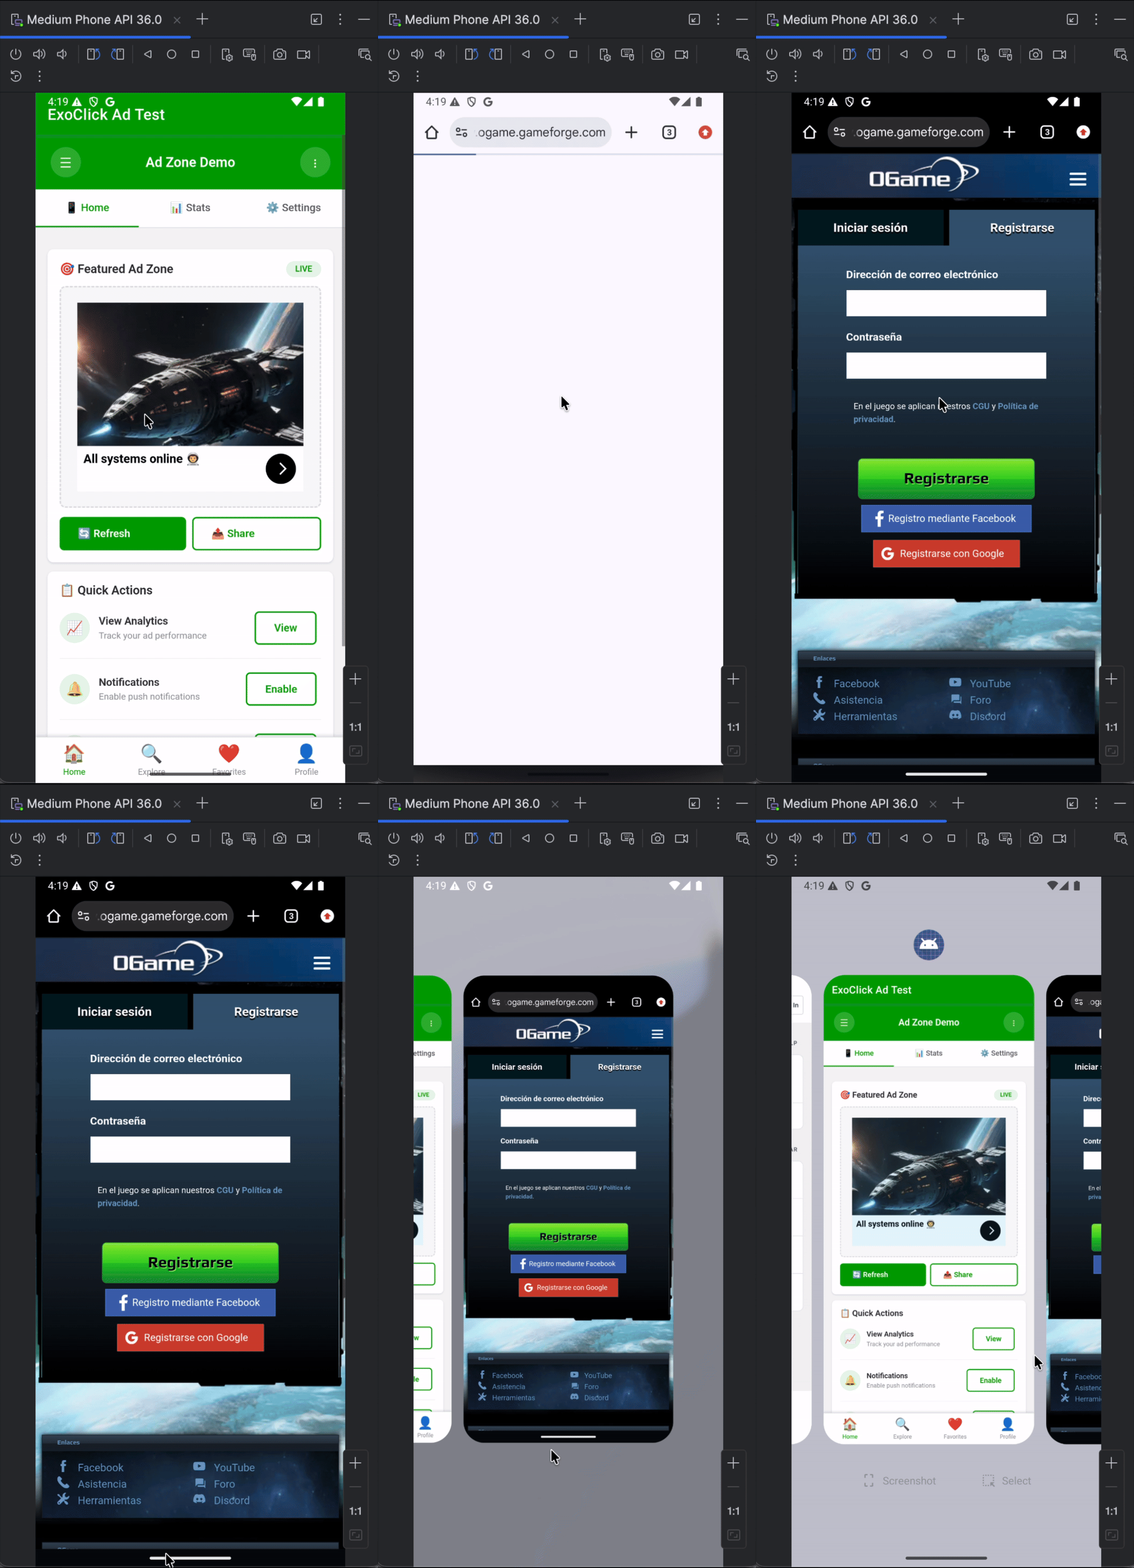
Zone publicitaire native pour les applications Android
L'exemple complet est disponible dans ce référentiel
Vous pouvez examiner le code et voir comment la publicité est rendue dans une application Android.

Où trouver la mise en œuvre ?
Les principaux fichiers responsables de la diffusion de l'annonce sont les suivants :
- Conteneur publicitaire HTML
android-native-ads/na_app/app/src/main/assets/exoclick_ads.htmlContient le balisage publicitaire ExoClick. - Logique WebView Android
android-native-ads/na_app/app/src/main/java/com/exoclick/adtest/MainActivity.ktCharge le fichier HTML. Gère les clics publicitaires en les ouvrant dans le navigateur externe de l'appareil.
Notes: Ce projet est conçu comme une simple référence, et non comme une solution de production complète. Il montre la configuration de base nécessaire pour afficher les publicités ExoClick dans une application Android.